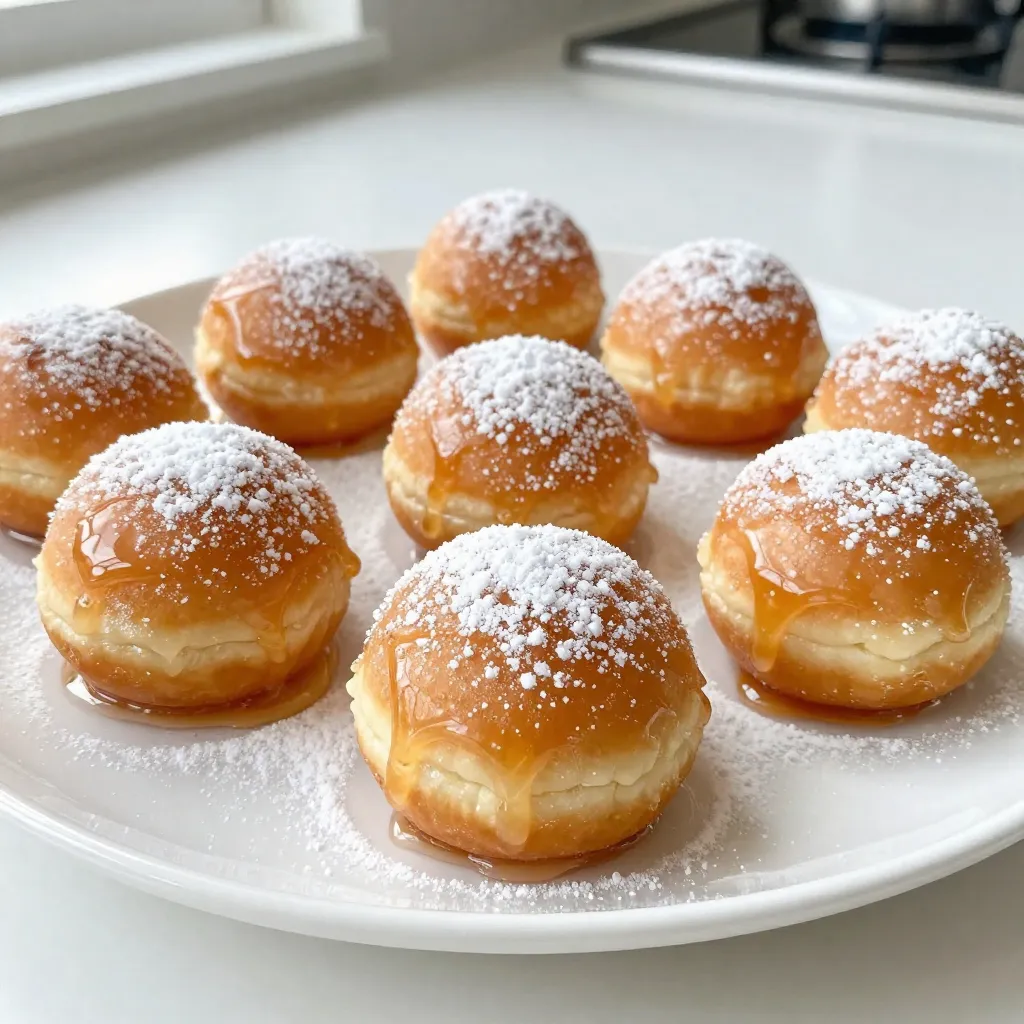
Do you love the sweet taste of maple? You’ll adore these Maple Glazed Donut Holes! This quick and easy recipe lets you create delicious treats right at home. With simple steps and ingredients, you’ll have soft, fluffy bites coated in a rich maple glaze. Whether you want a snack or dessert, these donut holes are sure to please. Let’s dive in and make some tasty memories together!
Why I Love This Recipe
- Deliciously Sweet: The maple glaze adds a perfect touch of sweetness that complements the warm, fluffy donut holes.
- Easy to Make: This recipe requires simple ingredients and straightforward steps, making it accessible for bakers of all levels.
- Perfect for Any Occasion: Whether it’s a breakfast treat or a party dessert, these donut holes are a hit for any gathering.
- Customizable: Add your favorite spices or toppings to make these donut holes uniquely yours!
Ingredients
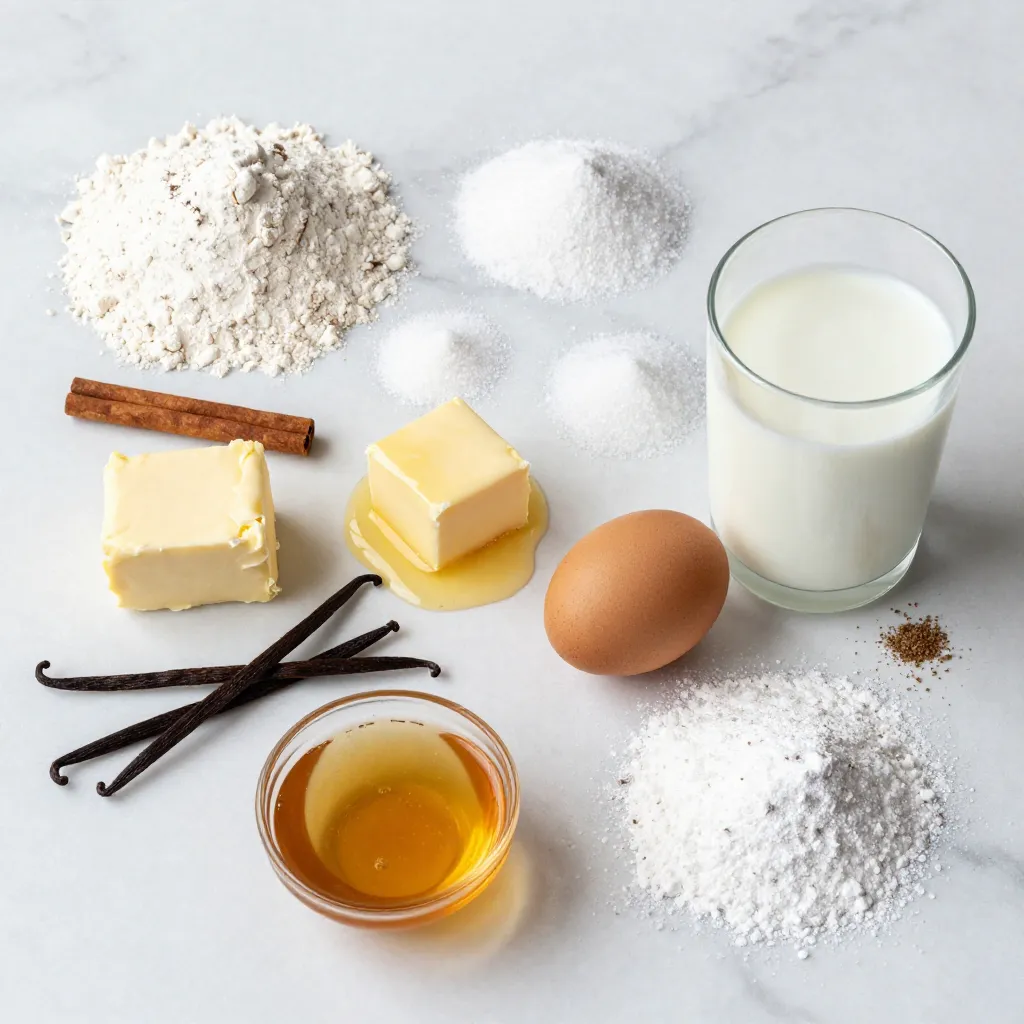
Key Ingredients for Maple Glazed Donut Holes
To make these tasty donut holes, you’ll need:
– 2 cups all-purpose flour
– 1/2 cup granulated sugar
– 2 tsp baking powder
– 1/4 tsp baking soda
– 1/2 tsp salt
– 1/2 tsp ground cinnamon
– 1/4 cup unsalted butter, melted
– 1 large egg
– 3/4 cup whole milk
– 1/4 tsp vanilla extract
– 1/2 cup maple syrup
– 1 cup powdered sugar for glaze
These ingredients work together to create a soft and sweet treat. The butter adds richness, while the maple syrup gives that classic flavor.
Optional Ingredients for Enhanced Flavor
For those who want to elevate their donut holes, consider adding:
– 1/4 tsp nutmeg
Nutmeg adds a warm spice that pairs well with maple. It gives a nice twist to the flavor, making it more complex.
Tools Needed for Preparation
Here are the tools you’ll need to make your donut holes:
– Mini muffin pan
– Mixing bowls
– Whisk
– Measuring cups and spoons
– Toothpick for testing doneness
– Wire rack for cooling
These tools help make the process smooth and fun. A mini muffin pan is perfect for shaping your donut holes. Enjoy the process and the delicious results!
Step-by-Step Instructions
Preheat and Prepare Your Baking Pan
First, preheat your oven to 375°F (190°C). Then, grab a mini muffin pan. Grease it with cooking spray or line it with mini cupcake liners. This step helps the donut holes come out easily.
Mixing Dry Ingredients
In a large bowl, combine the dry ingredients. Add 2 cups of all-purpose flour, 1/2 cup of granulated sugar, 2 teaspoons of baking powder, 1/4 teaspoon of baking soda, 1/2 teaspoon of salt, and 1/2 teaspoon of ground cinnamon. If you want a little more flavor, you can add 1/4 teaspoon of nutmeg. Whisk everything together until mixed well.
Combining Wet Ingredients
In another bowl, mix your wet ingredients. Pour in 1/4 cup of melted unsalted butter, then add 1 large egg, 3/4 cup of whole milk, and 1/4 teaspoon of vanilla extract. Whisk these until you have a smooth mixture.
Assembling the Batter
Now, it’s time to combine the wet and dry mixtures. Pour the wet ingredients into the dry ingredients. Stir gently until just combined. Be careful not to overmix, or your donut holes may be tough.
Baking the Donut Holes
Spoon the batter into your prepared muffin pan. Fill each cavity about 2/3 full. Bake these delicious treats in your preheated oven for 10-12 minutes. Check with a toothpick; it should come out clean when they are done.
Making the Maple Glaze
While the donut holes bake, prepare the glaze. In a small bowl, mix 1/2 cup of maple syrup with 1 cup of powdered sugar. Stir until it is smooth. If it is too runny, add more powdered sugar. If it is too thick, add a splash of maple syrup.
Glazing and Cooling the Donut Holes
Once the donut holes are done baking, let them cool for about 5 minutes in the pan. Then, remove them from the pan. Dip the tops of each donut hole into the maple glaze. Allow the excess glaze to drip off. Place the glazed donut holes on a wire rack to set. Enjoy your tasty treats!
Tips & Tricks
Common Mistakes to Avoid
– Overmixing the Batter: Mix until just combined. Overmixing makes the donut holes tough.
– Incorrect Oven Temperature: Always preheat your oven. Baking at the wrong temp can ruin your donuts.
– Not Greasing the Pan: Always grease your mini muffin pan. This helps the donut holes pop out easily.
How to Get the Perfect Donut Hole Texture
– Use Fresh Ingredients: Fresh baking powder and flour make a big difference. They help the donut holes rise well.
– Correct Baking Time: Bake for 10-12 minutes. Check with a toothpick to ensure they are fully cooked.
– Don’t Rush the Cooling: Let them cool for 5 minutes before removing. This helps keep their shape.
Cooling and Glazing Techniques
– Cool on a Wire Rack: After baking, place donut holes on a wire rack. This prevents them from getting soggy.
– Dip While Warm: Dip the holes in glaze while they are still warm. This allows the glaze to stick better.
– Let Glaze Set: After glazing, let them sit on the rack. This helps the glaze firm up and gives a nice finish.
Pro Tips
- Use Fresh Ingredients: Always use fresh baking powder and spices for the best flavor and rise in your donut holes.
- Experiment with Flavors: Feel free to add other spices like cardamom or cloves for a unique twist on the classic flavor.
- Perfect Your Glaze: Adjust the glaze consistency to your liking; a thicker glaze can be more indulgent, while a thinner glaze will soak into the donut holes.
- Storage Tips: Store leftover donut holes in an airtight container at room temperature for up to 2 days for maximum freshness.
Variations
Adding Different Flavors (e.g., Chocolate, Lemon)
You can easily switch up the flavors of your donut holes. For a chocolate twist, add 1/3 cup of cocoa powder to the dry mix. This adds a rich taste. For a lemon flavor, use lemon zest from one lemon. This makes your donuts bright and fresh. You can also add lemon juice to the glaze, giving it a tangy kick.
Gluten-Free Options
If you want a gluten-free version, use gluten-free flour. Many brands work well in this recipe. You may need to add a bit more baking powder to help them rise. Make sure to check the labels on other ingredients, like baking powder and vanilla extract, to ensure they are gluten-free.
Alternative Glaze Recipes
The maple glaze is tasty, but you can try other glazes too. A chocolate glaze is made by melting chocolate chips and mixing them with a bit of milk. For a fruity glaze, mix powdered sugar with orange juice. This adds a sweet and citrusy taste that pairs well with the donut holes. You can even mix spices like cinnamon or nutmeg for a unique twist.
Storage Info
Best Practices for Storing Donut Holes
To keep your maple glazed donut holes fresh, store them in an airtight container. This will help avoid moisture loss, which can make them dry. Place a paper towel in the container to absorb any excess moisture. Store at room temperature for the best taste. If you live in a humid area, consider refrigeration for a longer shelf life.
Freezing and Reheating Instructions
You can freeze your donut holes for up to three months. To do this, place them in a single layer on a baking sheet. Freeze until solid, then transfer them to a freezer-safe bag. When you’re ready to eat, thaw them at room temperature. To reheat, pop them in the oven at 350°F (175°C) for about 5-7 minutes. This warms them up and helps restore their soft texture.
Shelf Life of Maple Glazed Donut Holes
When stored correctly, maple glazed donut holes last about 2 days at room temperature. If refrigerated, they can last up to a week. However, I recommend enjoying them fresh for the best flavor and texture. If you notice any changes in smell or texture, it’s best to discard them.
FAQs
What is the best way to store maple glazed donut holes?
Store your donut holes in an airtight container. Keep them at room temperature for up to three days. If you want to keep them longer, place them in the fridge. They can last up to a week in the fridge. Just remember, the glaze may lose some shine over time.
Can I make the donut holes ahead of time?
Yes, you can make the donut holes ahead of time. Bake them and let them cool completely. Then, store them in an airtight container. Glaze them just before serving. This keeps them fresh and tasty.
How do I make the glaze thicker or thinner?
To make the glaze thicker, add more powdered sugar. Mix it in gradually until you reach the desired thickness. For a thinner glaze, add a splash of maple syrup or milk. Stir well until it’s smooth and pourable.
Can I substitute ingredients in this recipe?
Yes, you can substitute some ingredients. Use whole wheat flour for a healthier option. You can also replace the milk with almond or oat milk. For the glaze, try honey instead of maple syrup for a different flavor. Be creative!
Making maple glazed donut holes is easy and fun. You learned about key ingredients, helpful tools, and step-by-step instructions. We also shared tips to avoid mistakes and techniques for perfect texture. You can explore tasty variations and proper storage methods too.
Now that you know how to make these treats, enjoy baking and sharing them with friends. Your kitchen will smell amazing, and everyone will love the flavors! Happy bakin