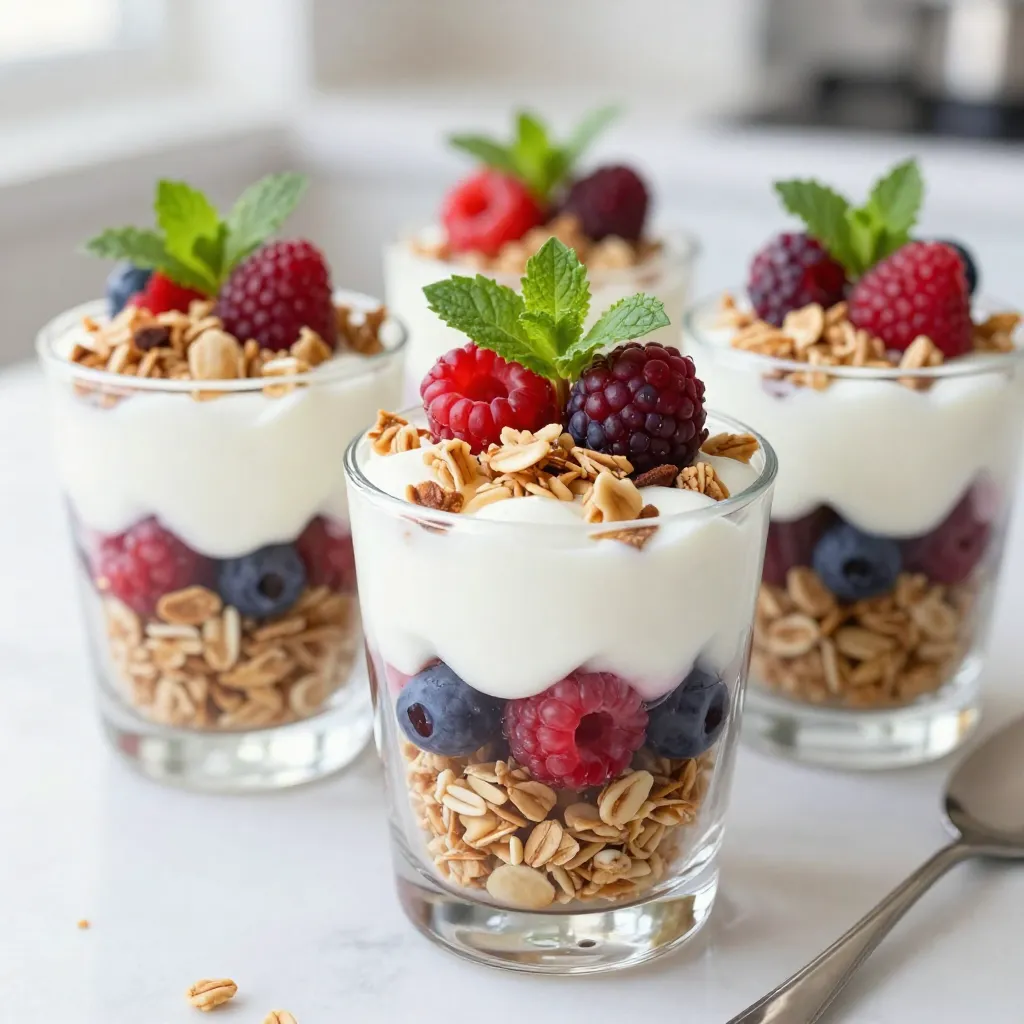
Looking for a cool treat to beat the summer heat? Berry Yogurt Parfait Pops are a fun and tasty way to enjoy fresh fruit and creamy yogurt. They’re easy to make and perfect for hot days, family gatherings, or just a sweet snack. In this article, I will guide you step-by-step to create these delicious pops that everyone will love. Let’s dive in and make your summer a little sweeter!
Why I Love This Recipe
- Healthy Treat: This parfait pops are a guilt-free dessert option packed with protein and antioxidants.
- Customizable Flavor: You can easily swap out the berries or add different toppings to suit your taste.
- Fun for Kids: Making these pops is a fun activity for kids, allowing them to participate in the kitchen.
- Perfect for Summer: These refreshing popsicles are a great way to cool down on a hot day!
Ingredients
Main Ingredients
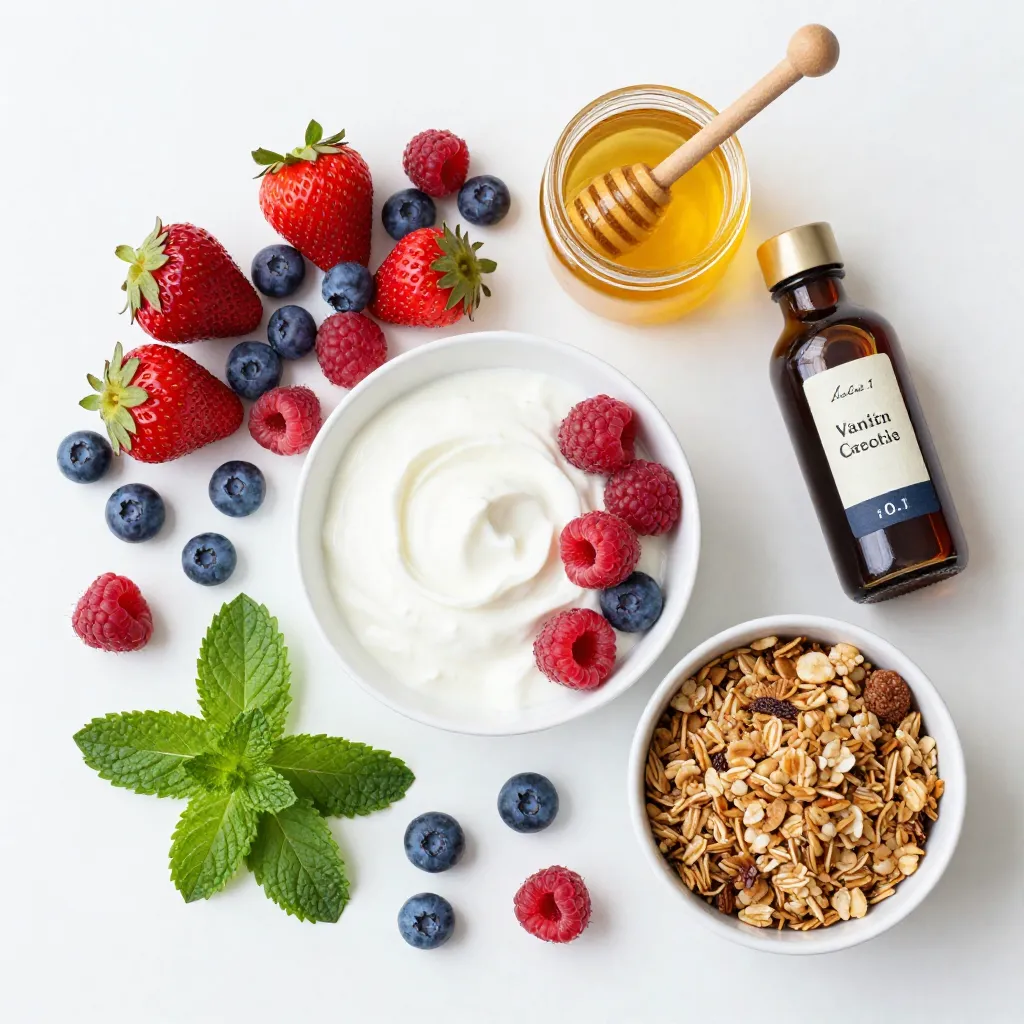
– Greek yogurt options: You can use plain or vanilla Greek yogurt. Plain yogurt gives a tangy taste. Vanilla adds sweetness and flavor. Both options work well in this recipe.
– Choice of mixed berries: Use any combination of berries you like. Strawberries, blueberries, and raspberries are great choices. Fresh or frozen berries both taste delicious. Choose ripe berries for the best flavor.
– Sweeteners to consider: Honey and maple syrup are popular sweeteners. You can adjust the amount to fit your taste. Use less for a tangier pop, or more for extra sweetness.
Optional Ingredients
– Different granola types: Granola adds crunch to the pops. You can use store-bought or homemade granola. Look for nutty or fruity granola for added flavor.
– Garnishing options with mint: Fresh mint leaves make a lovely garnish. They add color and a fresh taste. You can sprinkle mint on top before serving for a fun touch.
Step-by-Step Instructions
Preparing the Yogurt Mixture
First, grab a mixing bowl. Add 2 cups of Greek yogurt to it. You can use plain or vanilla yogurt. Next, pour in 2 tablespoons of honey or maple syrup. This sweetens the yogurt. Then, add 1 teaspoon of vanilla extract for extra flavor. Use a whisk or spoon to mix well. You want it smooth and creamy. Taste it, and adjust sweetness if needed.
Assembling the Popsicles
Now, take your popsicle molds. Start by adding a layer of the yogurt mixture. Use about 1-2 tablespoons per mold. Next, add a layer of mixed berries. You can use strawberries, blueberries, or raspberries. After that, sprinkle a layer of granola on top. Repeat these layers until you fill the molds. Leave a little space at the top so the pops can expand when freezing.
Freezing Process
Insert popsicle sticks into each mold. Make sure they stand straight. Tap the molds gently on the counter. This helps settle the mixture and remove air bubbles. Cover the molds with a lid or some foil. Place them in the freezer for at least 4-6 hours. They need to freeze solid. When ready to serve, run warm water over the outside of the mold. This helps release the pops easily. Gently pull them out and enjoy!
Tips & Tricks
Achieving the Perfect Layering
To make great pops, you need clear layers. Start with a layer of yogurt. Use a spoon to gently spread it. Next, add a layer of mixed berries. Press them down softly. Then, sprinkle granola over the berries. Repeat this process until the molds are full. Leave some space at the top. This helps the pops expand as they freeze. Taking your time with each layer makes a big difference.
Ensuring a Smooth Release from Molds
Getting pops out of the molds can be tricky. To release them easily, run warm water over the outside of the mold. Do this for about five seconds. This warms the mold and helps the pops slide out. Pull the pops gently, and they should come out smoothly. If they stick, try running the water longer. This simple trick saves you time and stress!
Customizing Your Popsicles
Want to make your pops even more fun? You can add different flavors and colors. Try using mango, peaches, or even kiwi for a fruity twist. You can mix in some nuts for crunch. You can also drizzle chocolate or add a layer of yogurt on top. Fresh mint leaves make a great garnish. Let your creativity shine with every batch!
Pro Tips
- Use Frozen Berries: If fresh berries are not in season, frozen mixed berries work just as well and can help keep the yogurt mixture cold while layering.
- Customize Sweetness: Adjust the amount of honey or maple syrup to suit your taste, or substitute with a sugar alternative for a healthier option.
- Experiment with Flavors: Don’t hesitate to mix in different flavors of yogurt or add spices like cinnamon or nutmeg for a unique twist.
- Perfect Serving Size: If you prefer smaller treats, consider using ice cube trays instead of traditional popsicle molds for bite-sized parfait pops.
Variations
Different Fruit Combinations
You can change the fruit in your parfait pops. Tropical fruits work great! Try using mangoes, pineapples, or kiwis. Stone fruits like peaches and plums also add a sweet touch. Just chop them into small pieces. Use any mix you like. The goal is to create fun flavors and textures. Each bite will taste like summer.
Yogurt Flavor Alternates
Flavored yogurt can change the taste of your pops. You can use strawberry, peach, or coconut yogurt. Vanilla yogurt is a classic choice and pairs well with fruit. You can even try Greek yogurt with a hint of lemon or lime. This gives a zesty kick. Experiment to find your favorite yogurt flavor.
Sweetness Adjustments
You can adjust the sweetness to fit your taste. Natural sweeteners like honey or maple syrup work well. They add a nice flavor. If you want it sweeter, add more. You can also use agave syrup or stevia for a low-calorie option. Avoid using too much refined sugar. It can mask the fresh fruit taste. Always taste as you mix.
Storage Info
Best Freezing Practices
To keep your Berry Yogurt Parfait Pops fresh, wrap each one tightly. Use plastic wrap or freezer bags. This helps prevent freezer burn. Store them in a single layer until frozen. After that, you can stack them. Always label your bags with the date. This way, you know when you made them.
Shelf Life of Berry Yogurt Parfait Pops
These pops last up to two months in the freezer. After that, they may lose flavor or texture. It’s best to eat them within this time for the best taste. If you notice ice crystals forming, it’s time to toss them.
Reusing Popsicle Molds
Clean your molds after each use. Wash them with warm soapy water. Avoid using harsh scrubbers that can scratch the surface. If they smell, soak them in a mix of baking soda and water. Rinse well before the next use. This will keep your molds in great shape for your next batch.
FAQs
Can I use non-dairy yogurt for this recipe?
Yes, you can use non-dairy yogurt. Look for options like coconut, almond, or soy. These yogurts work well in this recipe. They add a nice flavor and texture. Just ensure they are plain or lightly sweetened. This change keeps the taste fresh and fun.
What are some kid-friendly variations?
Kids love fun flavors and colors. You can use different fruits like mango or kiwi. Try adding some colorful sprinkles on top for a pop of fun. You can also blend in some fruit puree into the yogurt for a unique twist. Another idea is to use yogurt with fun flavors, like strawberry or peach.
How long do these pops take to freeze?
These pops take about 4-6 hours to freeze completely. The time may vary based on your freezer’s temperature. If your pops are still soft after 4 hours, give them more time. Check them after an hour or so. The pops should feel firm and icy when ready.
This blog post covered how to make berry yogurt popsicles. We discussed the key ingredients like Greek yogurt and berries, plus sweeteners. I shared step-by-step instructions for mixing, layering, and freezing your pops. Tips helped ensure perfect layers and easy popsicle removal.
Feel free to explore variations, like using tropical fruits or different yogurt flavors. These pops are not just tasty; they are also easy to customize. Enjoy creating your own cool and healthy treats! Happy freezin